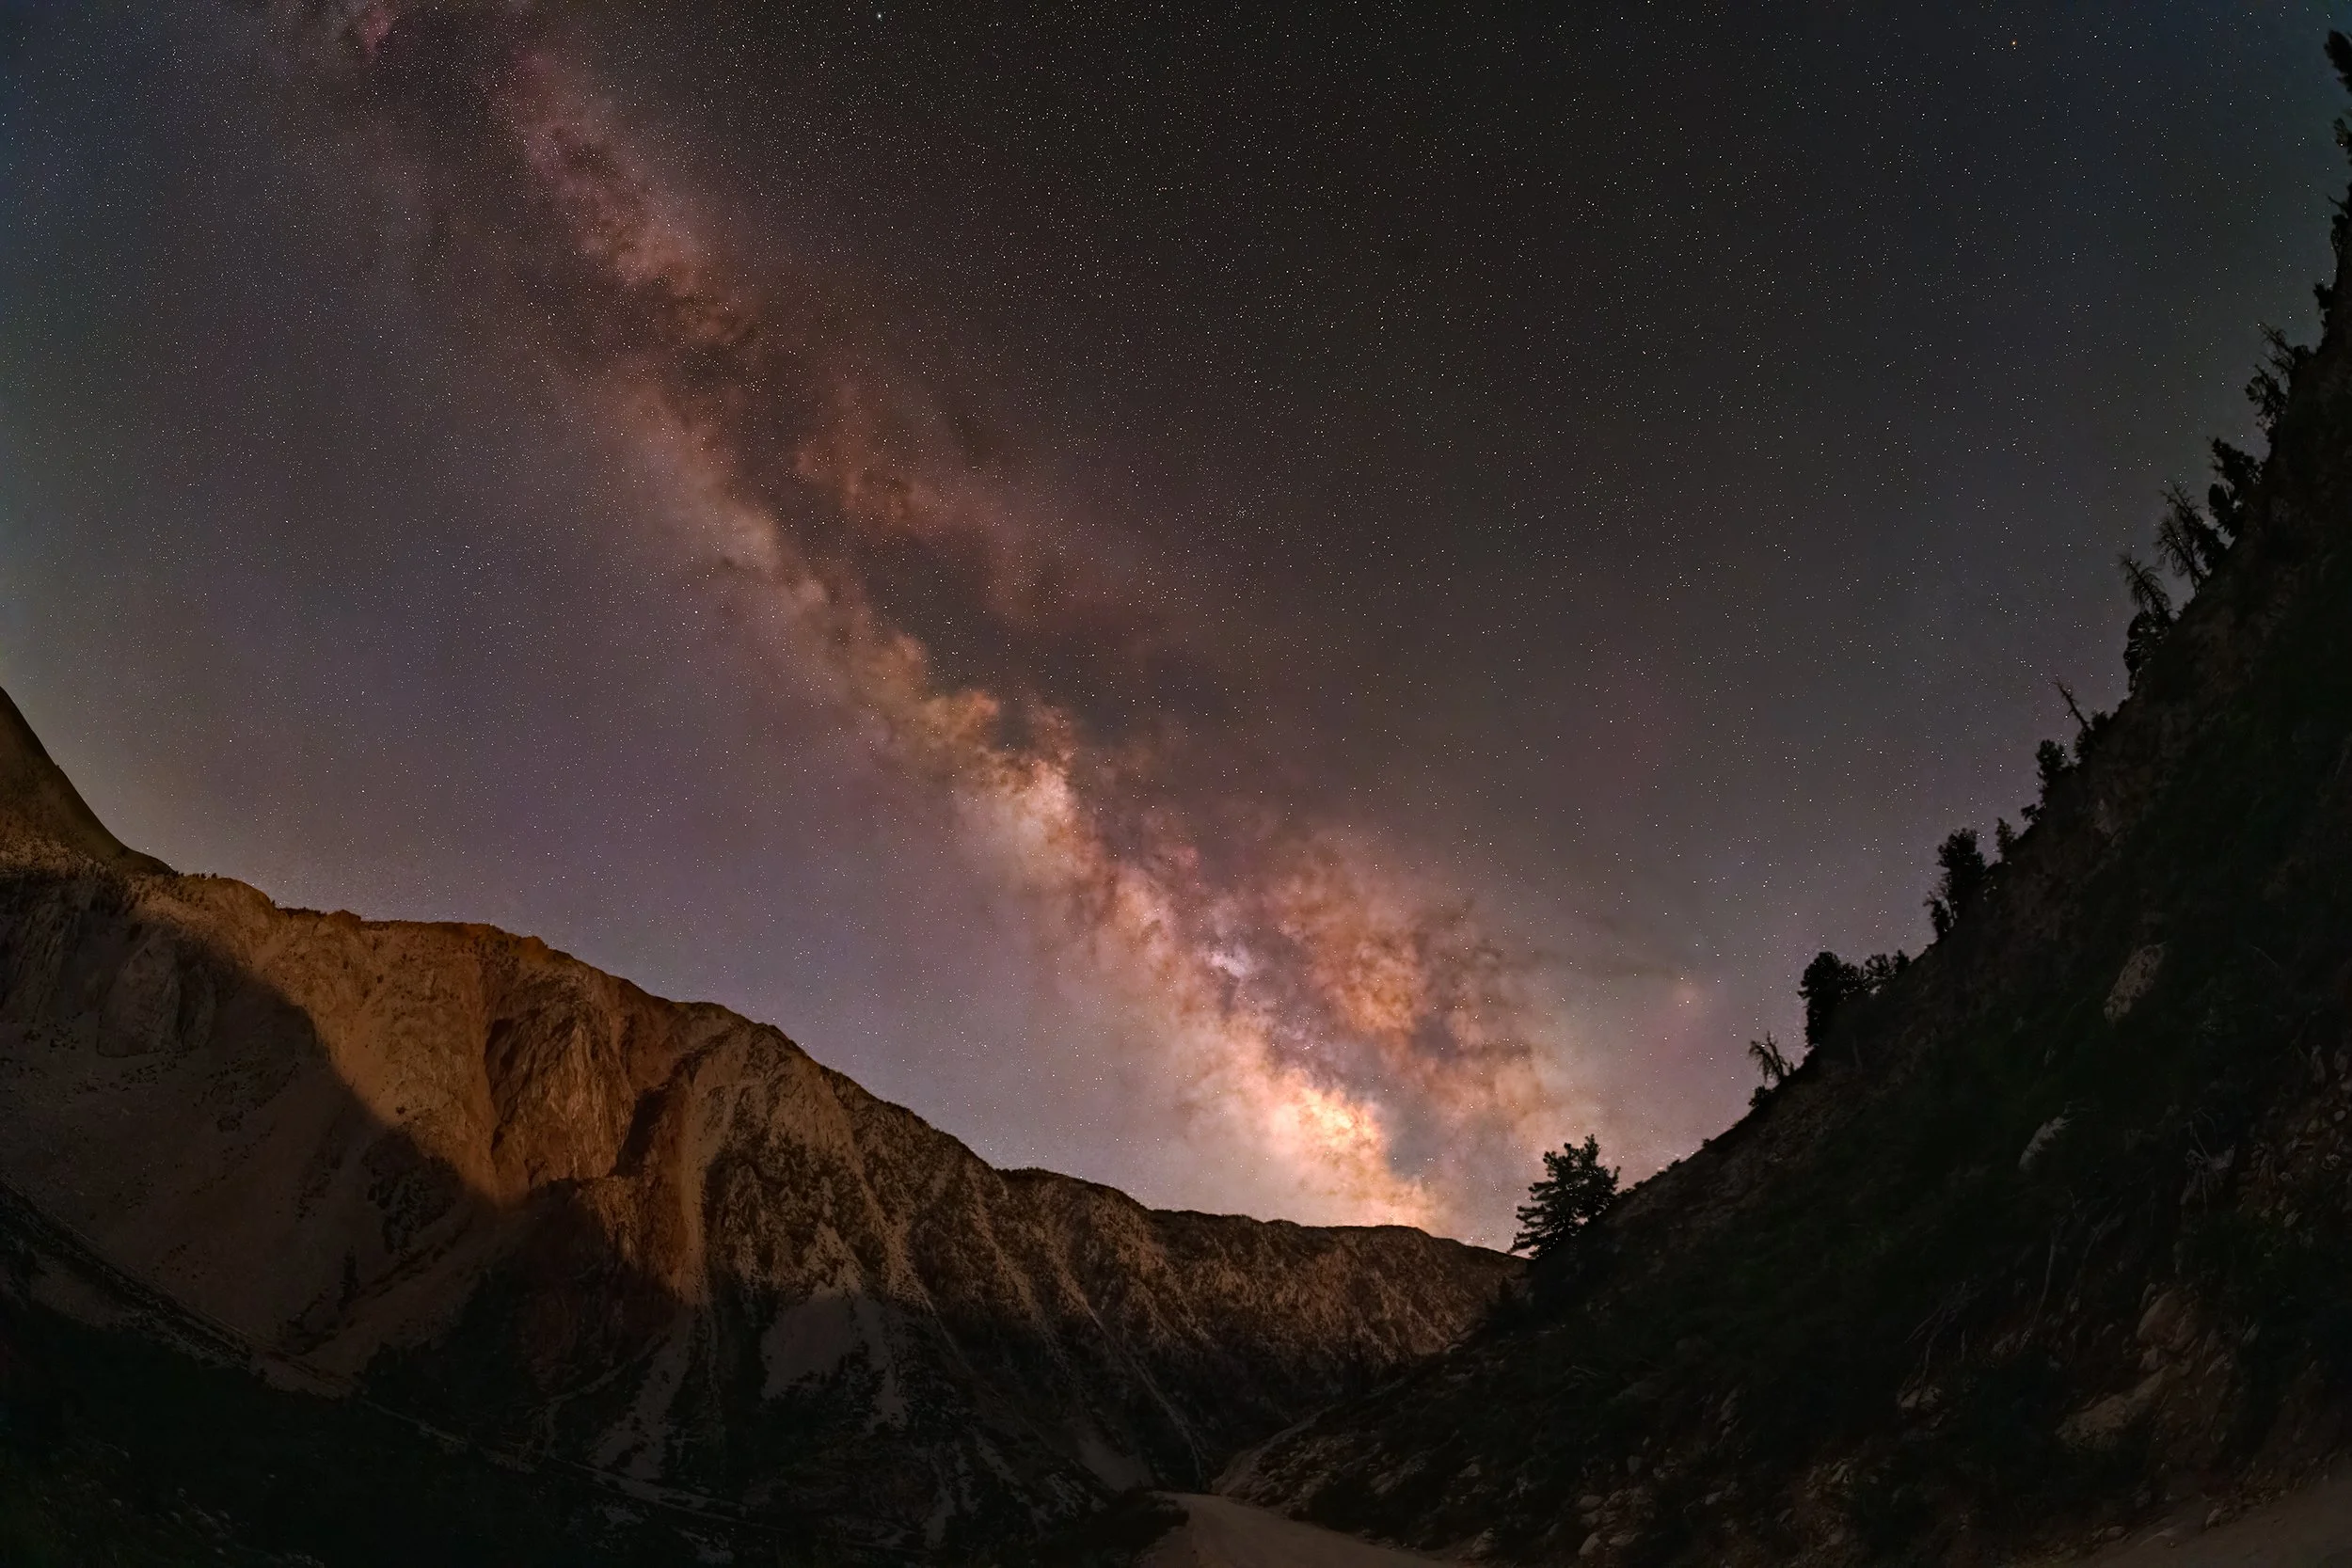
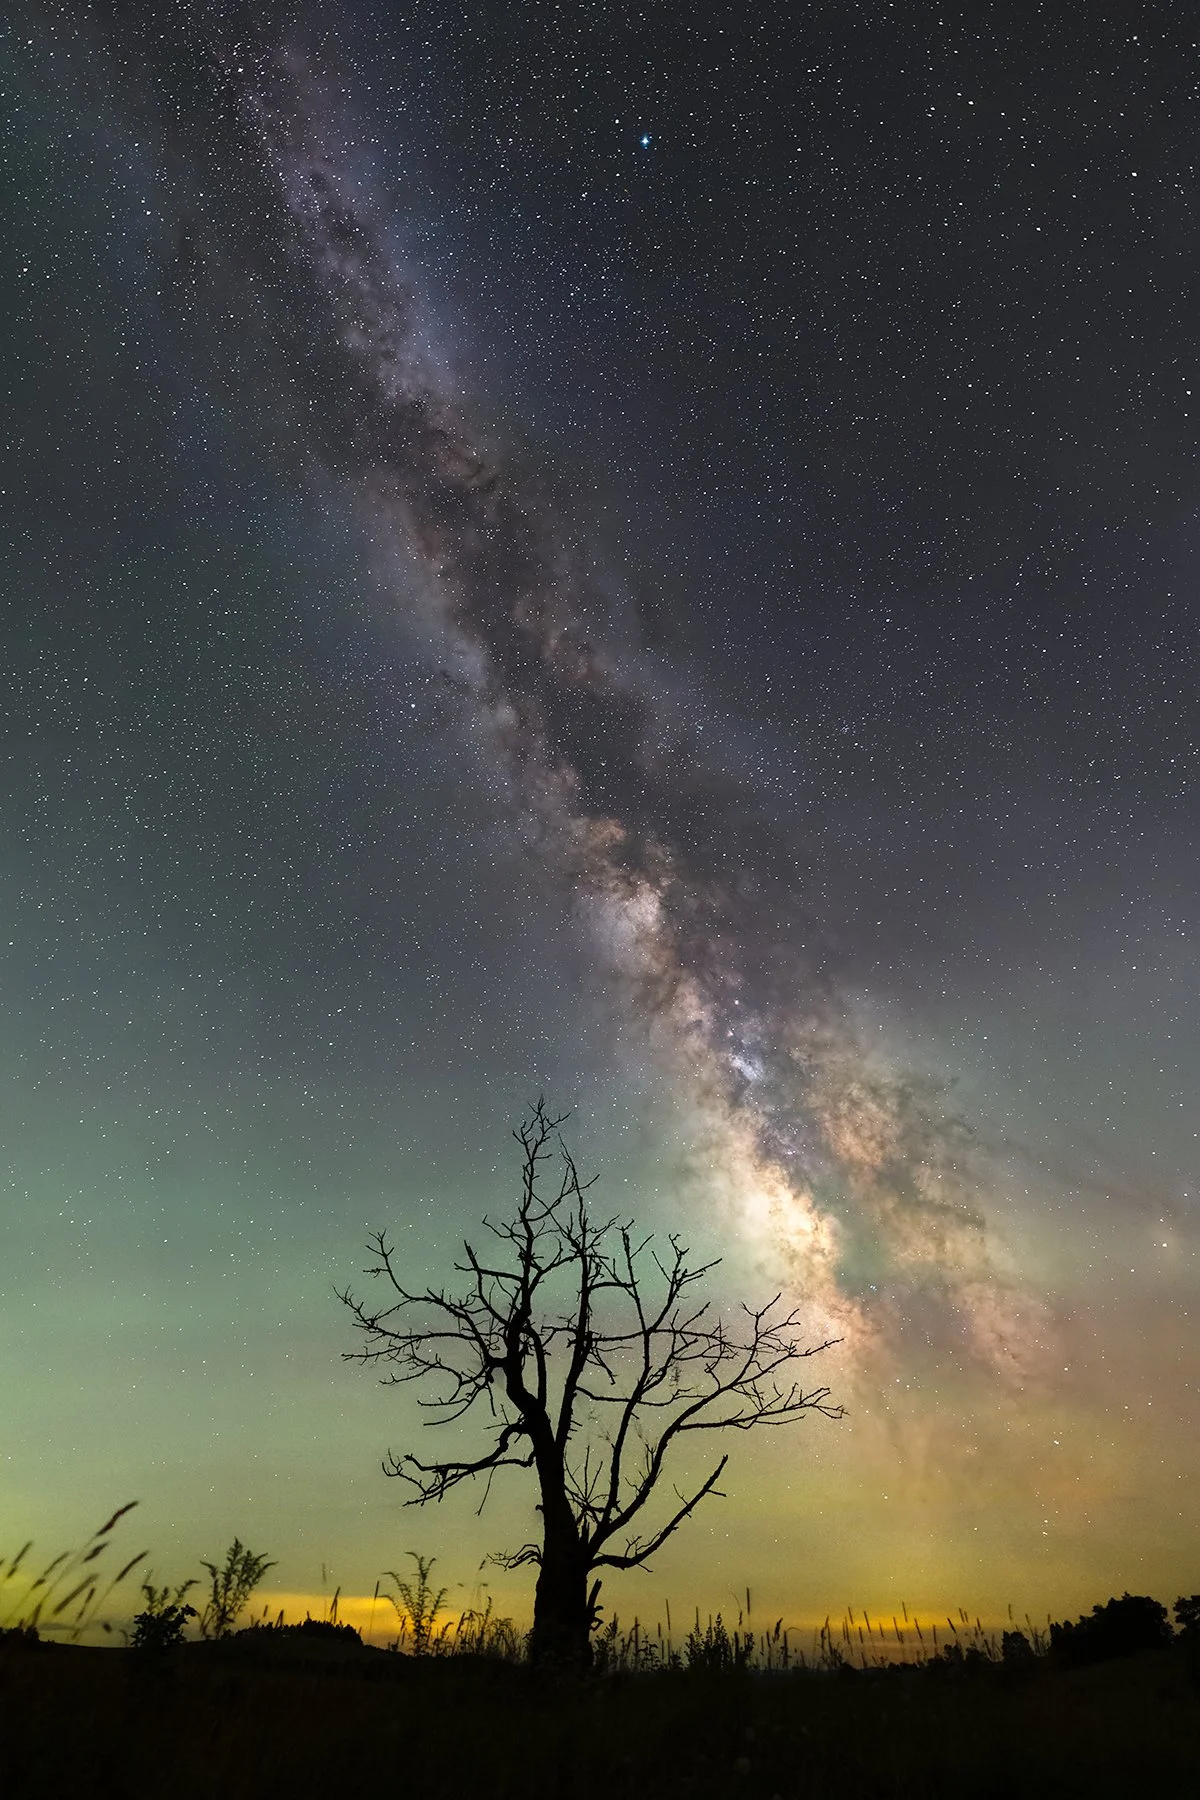
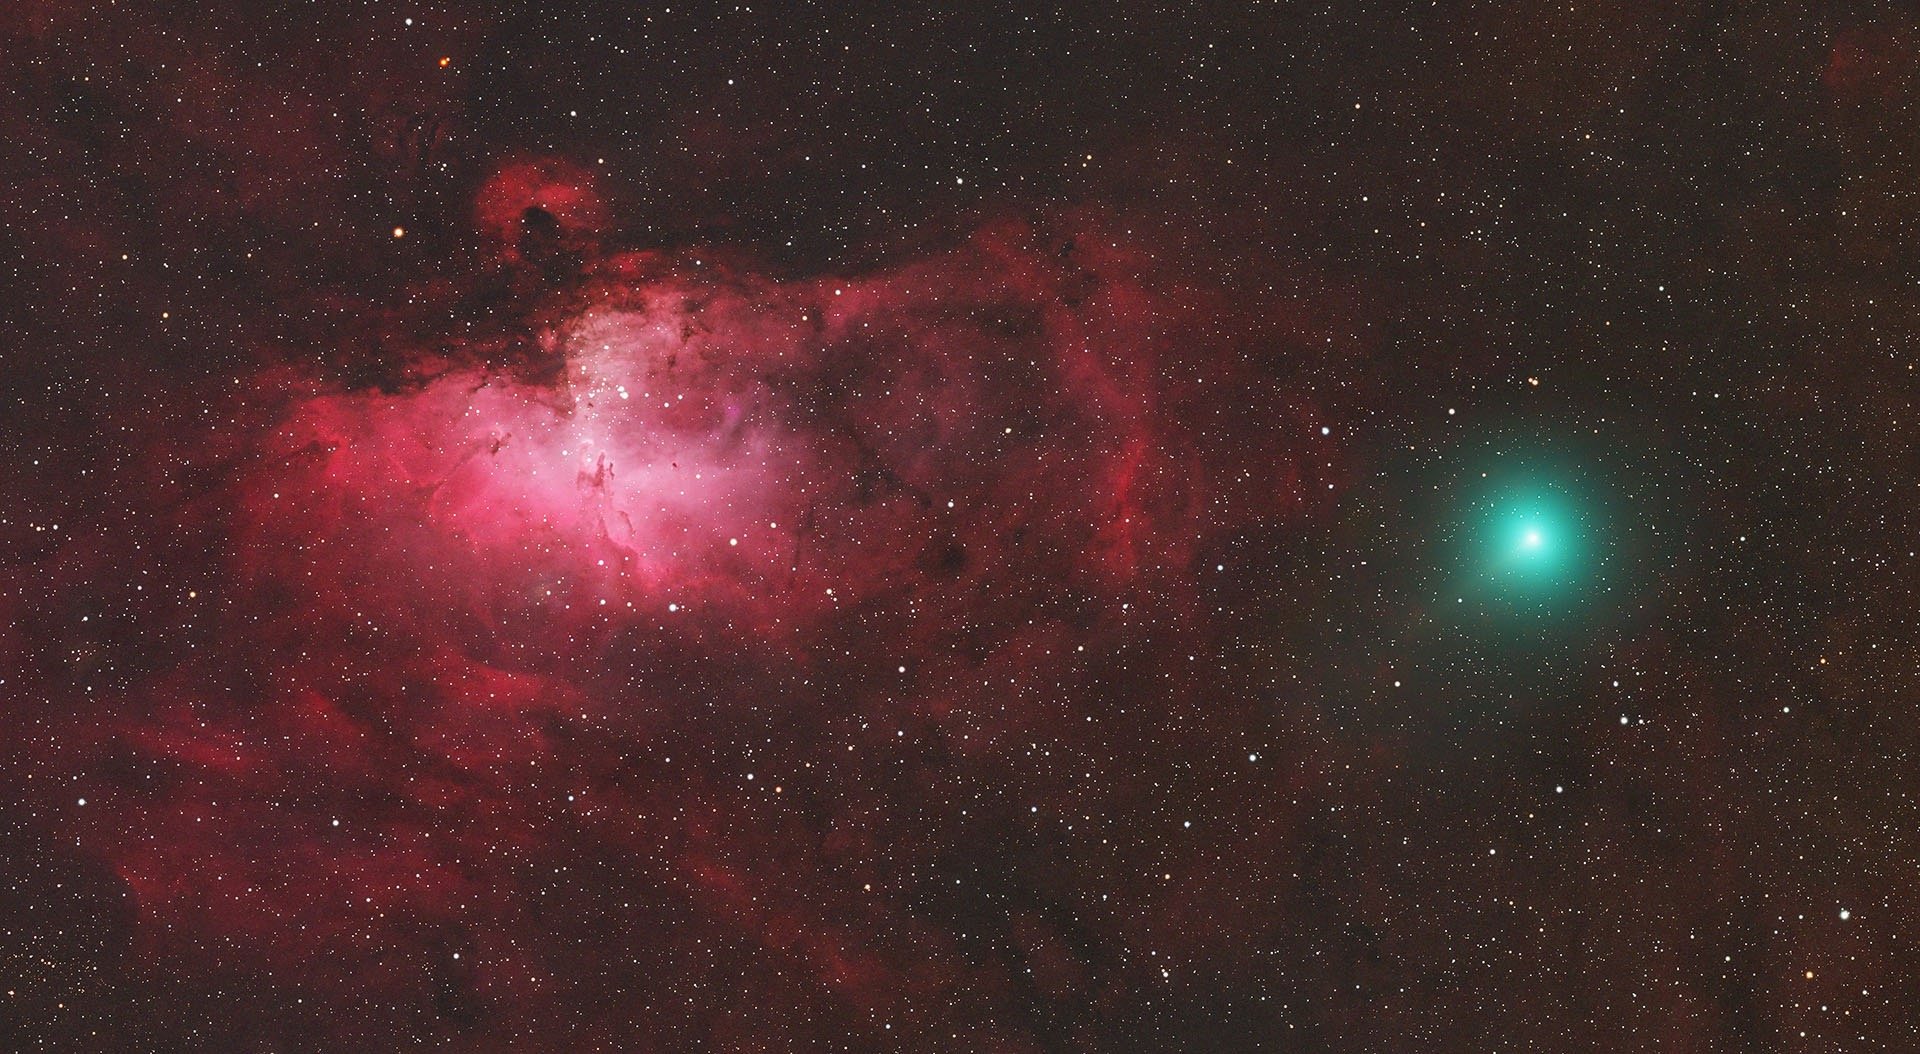
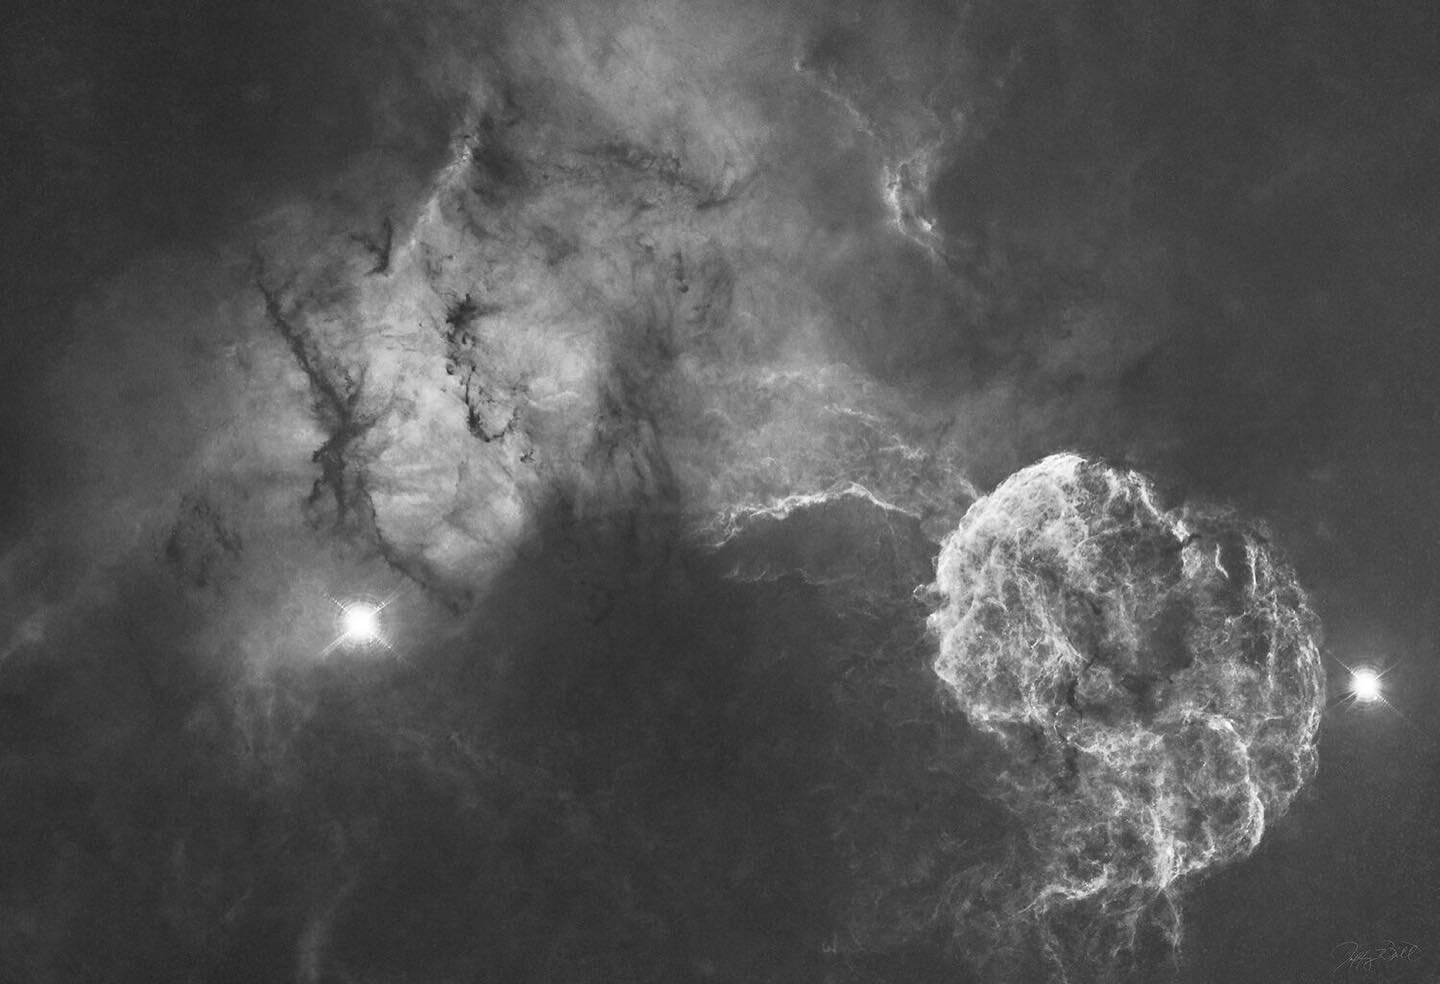
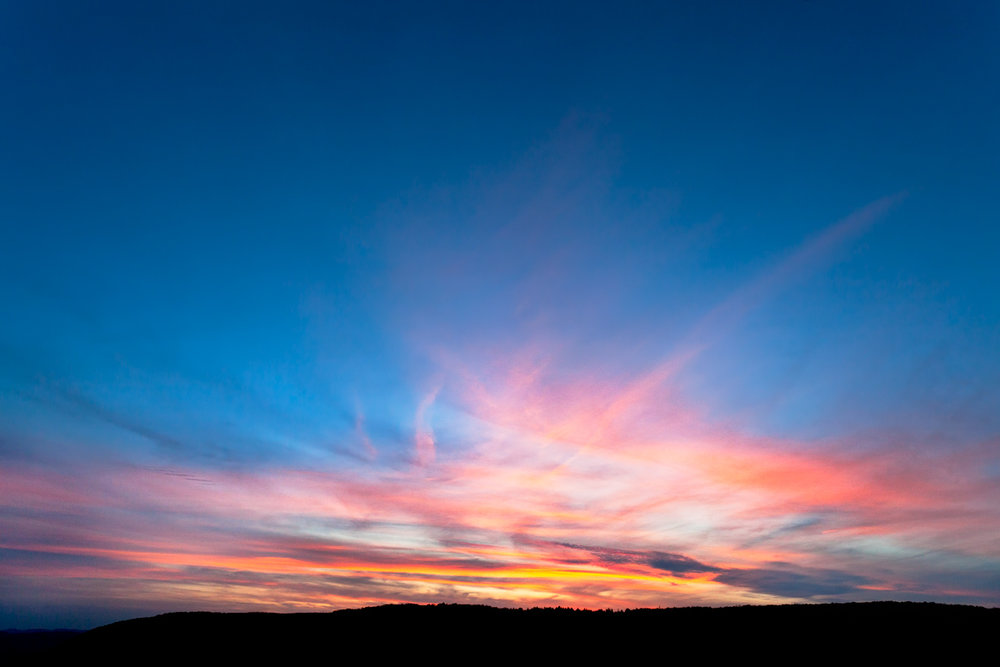
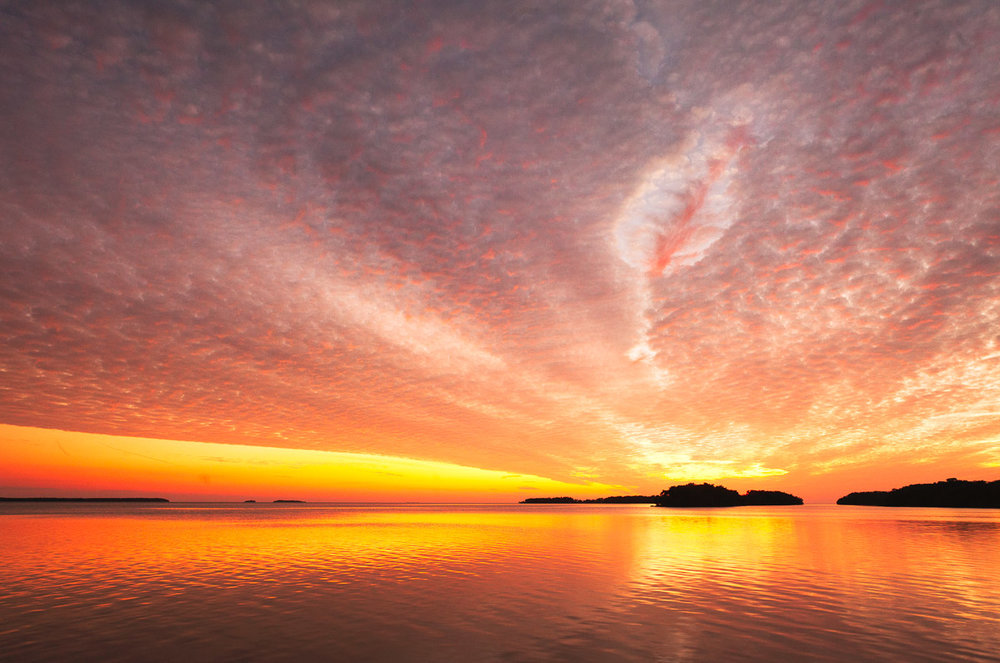
Lindy Point Sunset
Our workshop group was treated to many great sites and one was this sunset from Lindy Point. My favorite time for sunsets is actually after sunset to see if we get beautiful light on the clouds. While we do mostly photograph flowing water, we seek out great light and opportunities in other landscapes during the workshop. You can see the full size image along with other images from the workshop at this link.
 Lindy Point Sunset
Student Gallery Now Open
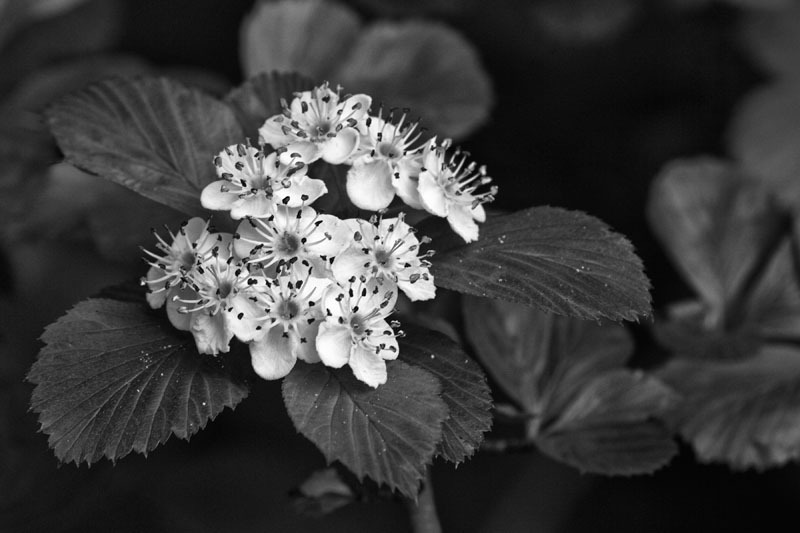 I am very excited to open the new "Student Gallery." Here is where we will present images by students from our workshops. Today we see the images from Bill Carey and Dennis Hanson added to the gallery from the recent Flowing Water workshop. It was a pleasure meeting both of them and working with them in the field. We all learn something from each other while photographing.
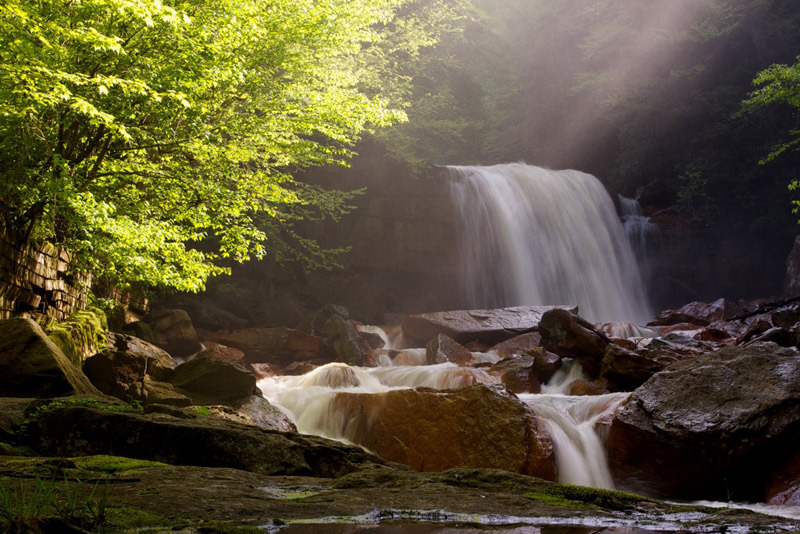
The two galleries are quite interesting in that Bill tended to work with wide and normal lenses while Dennis preferred to work with telephoto lenses. It is a great example of how the similar scenes may be interpreted entirely differently by individual photographers with different gear. Please take a moment to peruse the images and I hope you will join us on a future workshop so that we may add your images to the gallery as well.
Workshop Exercises: Interpreting the Scene
Below are some comments I wrote in a follow-up to our workshop students from Flowing Water held one week ago. We work on many skill enhancement exercises while in the field. This particular exercise reinforces the importance of interpreting the scene as one feels it and sees it vs. how the camera sees the scene. Here are the comments regarding a specific forest scene in which we were photographing.
One particular skill we we worked on involved interpreting the scene. Sometimes we must reconcile what the camera "sees" with what we are "seeing and feeling" at the moment of capture. We discussed the importance of noting when the camera records a scene in a way that is radically different from the one you experienced. 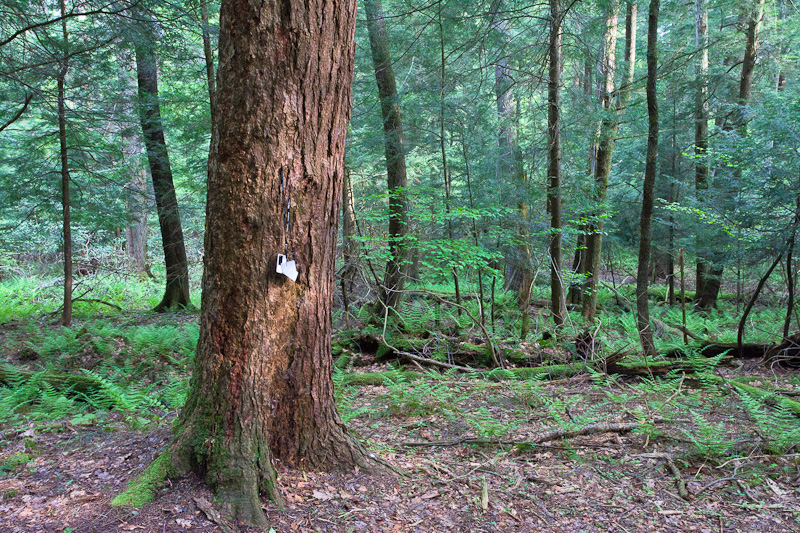 You may recall one particular scene that really exemplified the importance of noting the differences between what the eye sees vs. what the camera records. The scene pictured here is from Cathedral Forest where we had moments of very nice warm morning light. The left image is exactly how the camera interpreted the scene. While you were reviewing the image on your LCD screen you may have wondered "why does this light seem much brighter and less colorful than what I am seeing?" Many times we are photographing in mixed light. Just like in this scene where we have cool open shade light as well as direct horizontal morning light. It is very challenging for the camera to automatically interpret the scene accurately, let alone how we felt in the scene at the moment of capture. That is really what it is about, capturing the scene as we saw and felt it at the moment of capture. There is no doubt that the light was very nice in this scene and we all responded to it by taking photos.
 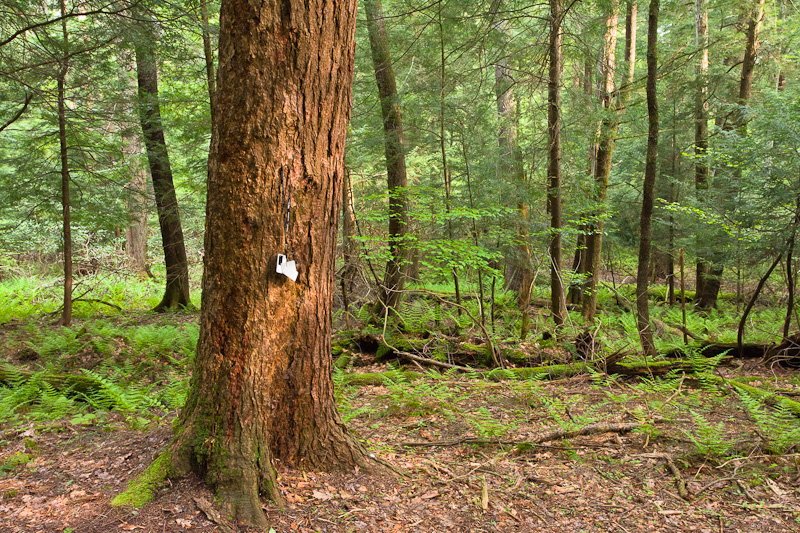 So what can we do? In this case it is a simple technical adjustment that can make all of the difference. The camera recorded the scene with a temperature of 3839 and a tint of 24. As you can see I hung the White Balance card in the scene where the light was touching the tree. Simply using this card as my white balance reference the scene changes completely to the accurate presentation in the image on the right. Now the temperature is 4850 and the tint is 15. The white balance card doesn't always work, but in this case I think it has done a nice job in interpreting the scene of warm morning light with the greens of the forest.
This is just one example of the skill enhancement exercises we worked on during our time together. I encourage you to continue to utilize the skill enhancement exercises in your daily photographic adventures. Again if you need any other help we can work together either via VOIP or phone or you can attend another workshop.
Flamingo Sunsets
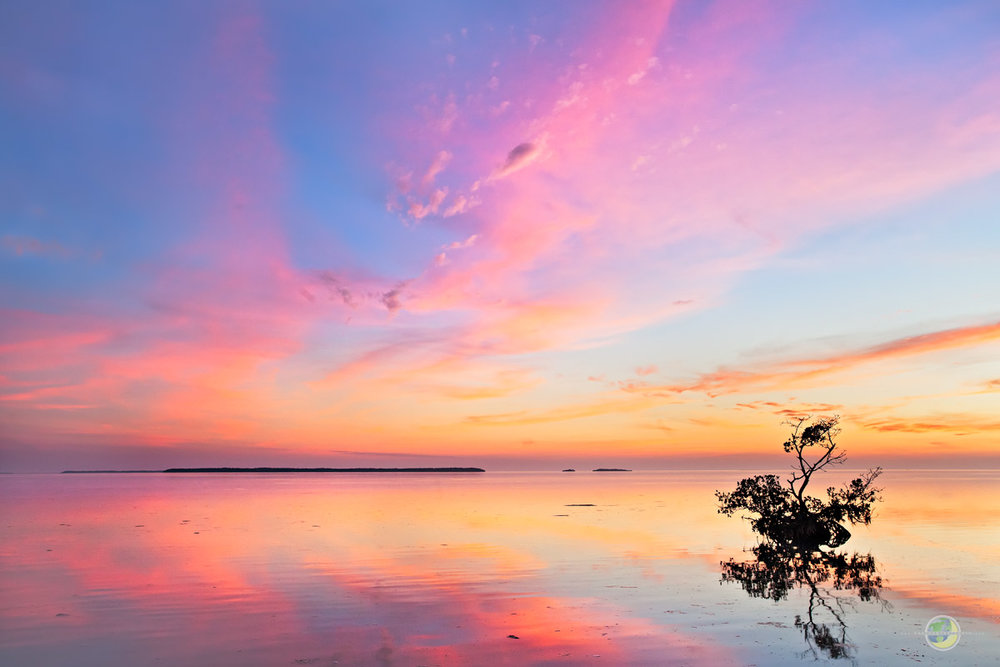 In the winter of this year I had the opportunity to visit the Everglades for a week of photography. I journeyed over most of the park from the eastern entrances everyday from pre-sunrise to post-sunset. One location quickly became my favorite after my very first visit. Flamingo is about 38 miles from the east entrance to the park. I wasn't setup for camping so I made the drive every day to Flamingo for sunset.
I was looking for a western exposure to the open water where I had a feeling that magical light could happen around sunset. My first trip to Flamingo was a stark reminder of the the official bird of Florida-the mosquito. They nearly carried me away that night and I never left my Deep Woods Off at home after that. 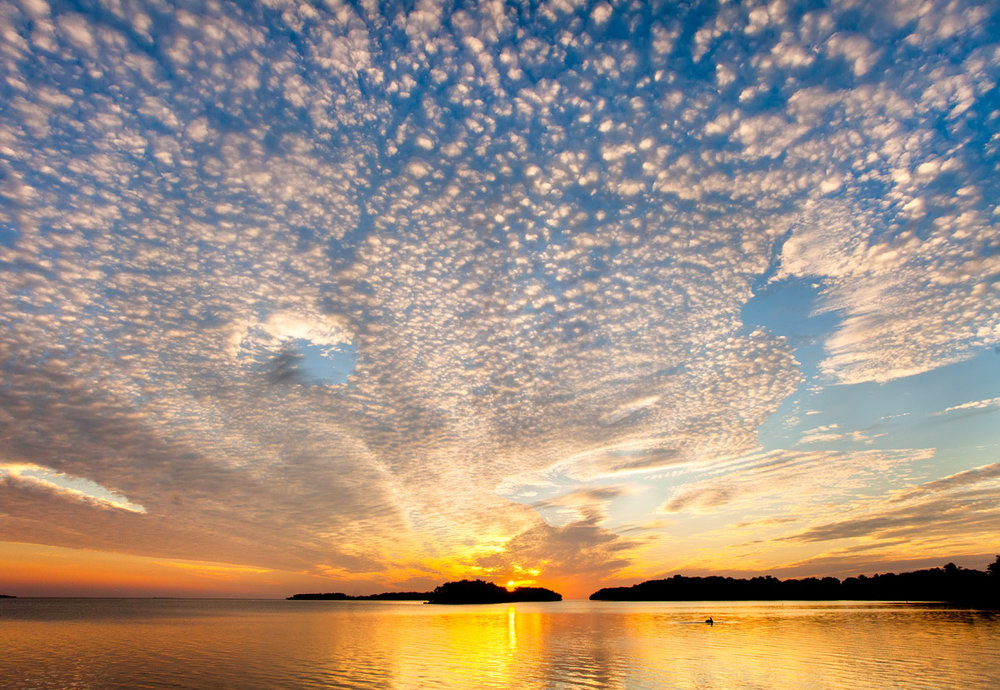 The evening was very special as the Florida Bay was dead still and the post-sunset sky glow was reflecting off of the water like a mirror. This evening was colored by pink and blue pastels in the sky. The next evening was a little overcast and didn't provide much in the way of special light. My third evening was specactular. The pre-sunset sky was full of popcorn clouds and a brilliant sun reflecting off of the bay. Then it followed up with fantastic post-sunset sky glow and clouds that really made the trip special.
So it goes without saying that I have found a favorite photo location in the Everglades and will visit this spot every time I am in the area.
 I invite you to view the full size images of Flamingo Sunsets at this link.
Flowing Water Workshop Students in the Field
We just had a wonderful weekend in the field photographing flowing water, forests, sunrises, and sunsets in the highlands of West Virginia at Blackwater Falls State Park. I will have much more about this workshop and future workshops, but wanted to let you see some images of the students working in the field. What a great group of hard working and talented photographers. Here is a link to the gallery of students hard at work.
The Herschel 400 Astronomical League Project is underway
It’s not too late to join. We are about 30 objects into the Herschel 400. Hope to get another session in soon. Please subscribe to the YouTube channel so you get notifications on LIVE STREAMS.
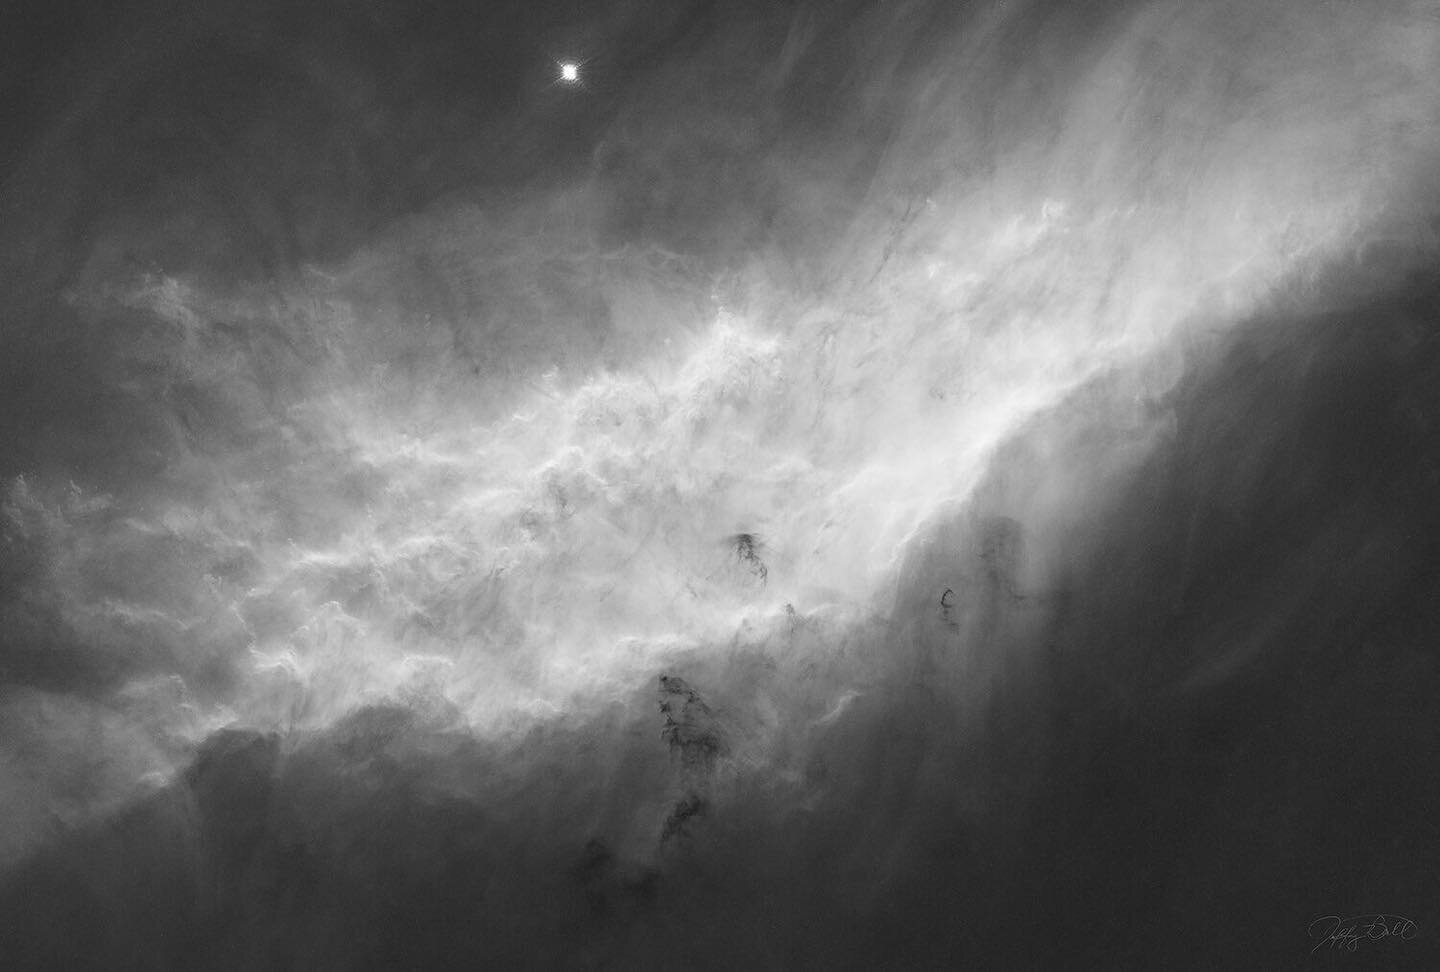
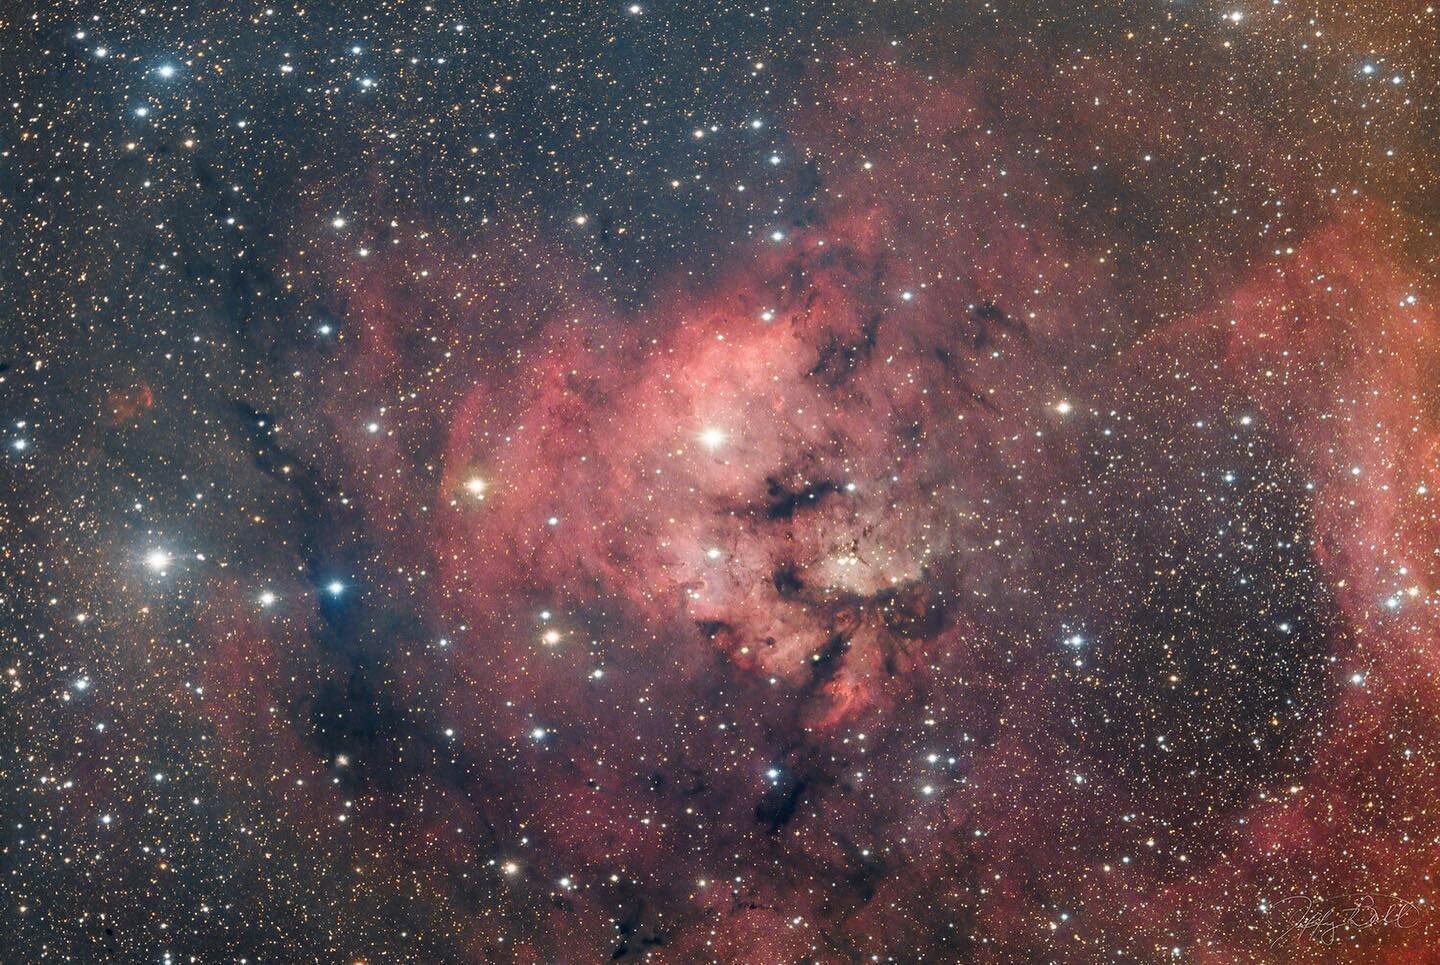
Angels in Monoceros: The Monoceros M2 Complex
The Monoceros R2 molecular complex (often shortened to Mon R2) is a massive giant molecular cloud and one of the nearest active star-forming regions to Earth. It's a dynamic stellar nursery embedded in dense gas and dust, where new stars—particularly massive ones—are actively being born.
Key Facts
Location: Southwestern part of the constellation Monoceros (the Unicorn), near the border with Orion. It's part of the larger Orion-Monoceros cloud complex.
Distance: Approximately 2,400–2,700 light-years (around 830 parsecs).
Size and Structure: The main dense core is relatively compact (a few light-years across), but the overall molecular cloud and associated nebulae span a wide area—reflection nebulae alone stretch up to about 2° in the sky. It's situated well below the galactic plane, which makes it stand out in certain observations.
Age and Activity: Star formation here began roughly 6–10 million years ago. It hosts an OB association (young, hot, massive B- and A-type stars) that illuminates surrounding dust, creating prominent reflection nebulae with bluish hues. There's also significant emission from ionized gas (red glows) and dark nebulae that appear as shadowy silhouettes blocking background light.
Notable Features:
A central hub of massive star formation with embedded clusters, molecular outflows, and HII regions.
Infrared observations (like those from VISTA or 2MASS) penetrate the dust to reveal hidden young stars and protoplanetary disks.
It's a key site for studying early stellar evolution, variability in young stellar objects (YSOs), and the interplay between massive stars and their natal clouds.
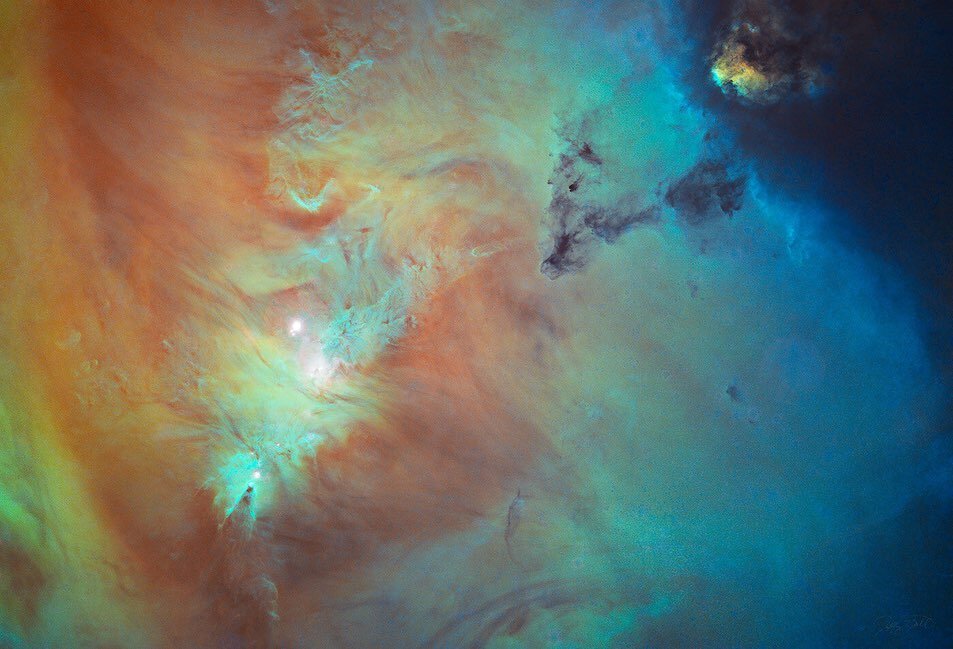
The most famous and photogenic part of Mon R2 is the region around NGC 2170 (the Angel Nebula), a striking reflection nebula with wing-like dust structures, glowing blue from scattered starlight, mixed with red emission and dark lanes. Wider views of the complex reveal a richer tapestry of colorful gas, dust filaments, and star clusters.
Credit: GROK 2/28/26
Click on image for larger view.
New Astro Camera: OM-3
Join me for a LIVE conversation about this new astro camera coming to the market. Is this the best option for you? How does it compare to other options? https://www.earthandskyphoto.com Correction: when discussing Bulb mode with Canon, I incorrectly said it had a limit of 30”. I meant to say manual exposure has a max of 30”. In bulb, you need to use a remote control or app for exposure time control. The problem is you can’t set exposure time for stills in the camera menu. I was made aware that Olympus no longer owns the OM system. It is owned by Japanese industrial Partners, a private equity firm. For content on the OM-3 for astrophotography, please see Ben Chapell’s Narrow Band channel. https://youtube.com/@TheNarrowbandChannel?si=GcWY-BM9skG9LPhY
Jeff's Blog
Join me on photography journeys from desert landscapes to deep sky wonders.